
Silent Hill f Worship Hall Walkthrough and Guide
Complete step-by-step guide to navigating the Dark Shrine Worship Hall, solving puzzles, and surviving the horrors within
This comprehensive walkthrough covers everything you need to conquer the Worship Hall in Silent Hill f. From finding Sakuko and solving intricate puzzles to defeating formidable bosses and collecting hidden items, this guide has you covered.
Worship Hall Overview
The Dark Shrine Worship Hall presents one of the most challenging areas in Silent Hill f, filled with complex puzzles, dangerous enemies, and crucial story progression elements.
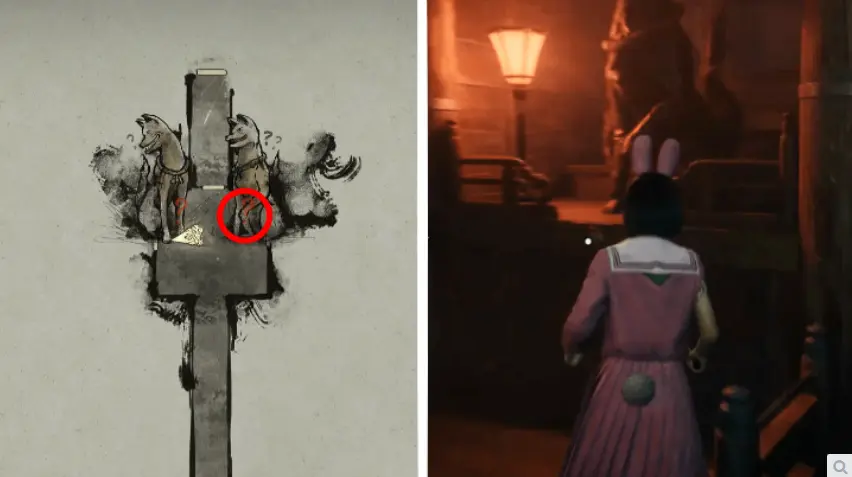
Follow this guide carefully to navigate the treacherous halls and uncover the dark secrets hidden within.
How to Open the Sacred Door in Silent Hill f
Your journey through the Worship Hall begins with a locked door that blocks your path forward.
Step-by-Step Process:
- Follow Fox Mask down the initial hallway
- Watch as Fox Mask closes the Sacred Door in front of you
- Interact with the right Inari statue near the sealed door
- Enter the Eastern Chambers that become accessible
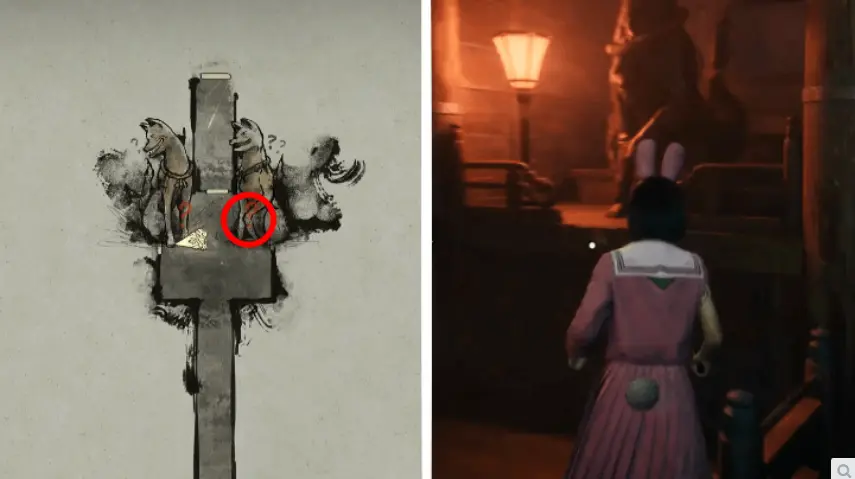
This initial step is crucial for accessing the main areas of the Worship Hall where Sakuko awaits.
Exploring the Eastern Chambers in Silent Hill f
Once inside the Eastern Chambers, you'll encounter your first environmental puzzle and learn about safe zones.
Initial Room Mechanics:
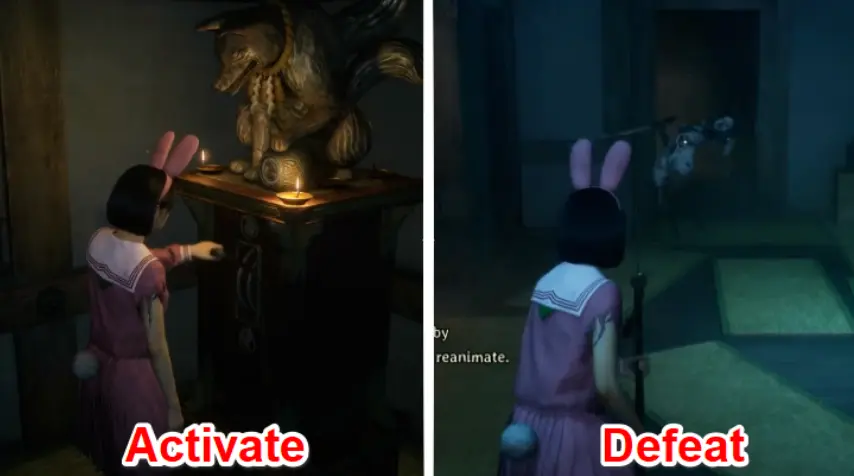
- Interact with the statue in the corner to switch its color to blue
- This action unlocks the door on the opposite side
- A Blade Legs Monster will immediately rush in to attack
Safe Zones Strategy
The evil-warding lantern in this room creates a protected area where defeated monsters won't respawn. Look for blue-glowing areas throughout the Dark Shrine to identify similar safe zones. Enemies marked with blue specks of light will not respawn once defeated within these protected areas.
Silent Hill f Doors Puzzle Solution: Finding Sakuko
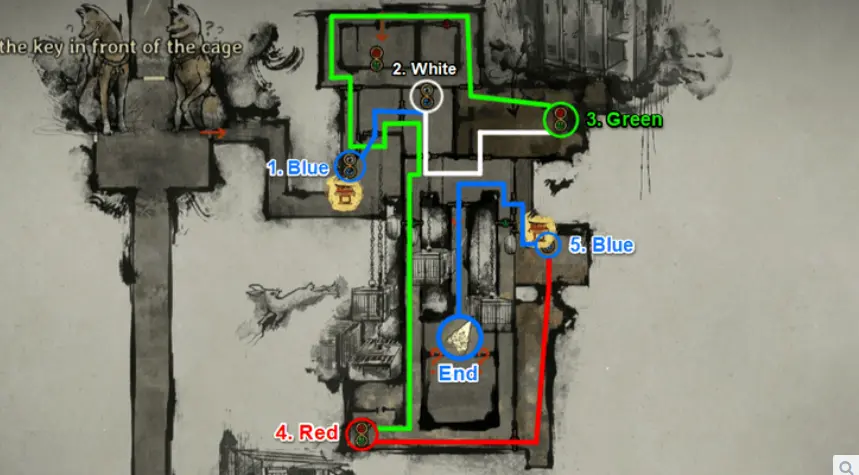
This complex door puzzle requires precise statue color manipulation to reach Sakuko.
| Step | Statue Color | Location/Action |
|---|---|---|
| 1 | Blue | Room with Hokora - First statue |
| 2 | White | Second statue |
| 3 | Green | Third statue |
| 4 | Red | Return to first room, head south - Fourth statue |
| 5 | Blue | North-east area - Fifth statue |
After completing this sequence, the path outside and central door will unlock. Proceed to find Sakuko trapped at the end of the hall, past the cages.
Silent Hill f Light Puzzle Solution: Obtaining the White Rabbit Emblem Key
This puzzle involves aligning Fox and Rabbit statues according to your chosen difficulty level.
Story Difficulty
Fox (E) - Rabbit (W) - Fox (E) - Rabbit (W)
Fox and Rabbit face each other
Hard Difficulty
Fox (W) - Rabbit (E) - Fox (W) - Rabbit (E)
Fox and Rabbit face away from each other
Lost in the Fog
Fox (W) - Rabbit (E) - Fox (W) - Rabbit (W)
Left pair face away, right pair face left
Directional Legends: W = West, E = East
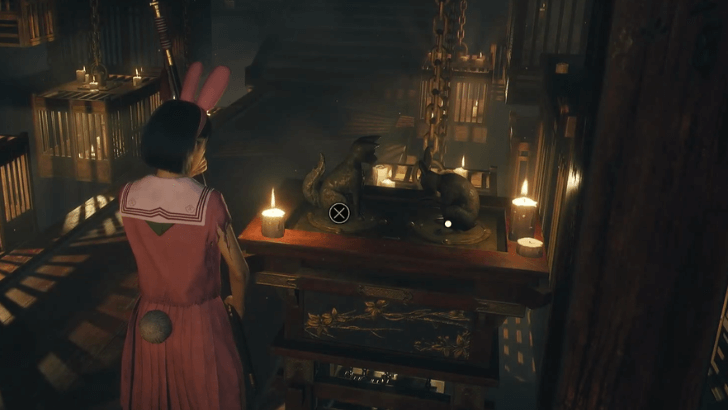
Successfully solving this puzzle will level and open the suspended cages, allowing you to collect the Restrain and Talon Lampshades. Place these shades on the lamps on either side of the offering table in front of Sakuko's cell to obtain the White Rabbit Emblem Key.
Returning to the Grand Hall in Silent Hill f
With the White Rabbit Emblem Key in hand, you can progress further into the Worship Hall.
Progression Steps:
- Return to the Grand Hall area
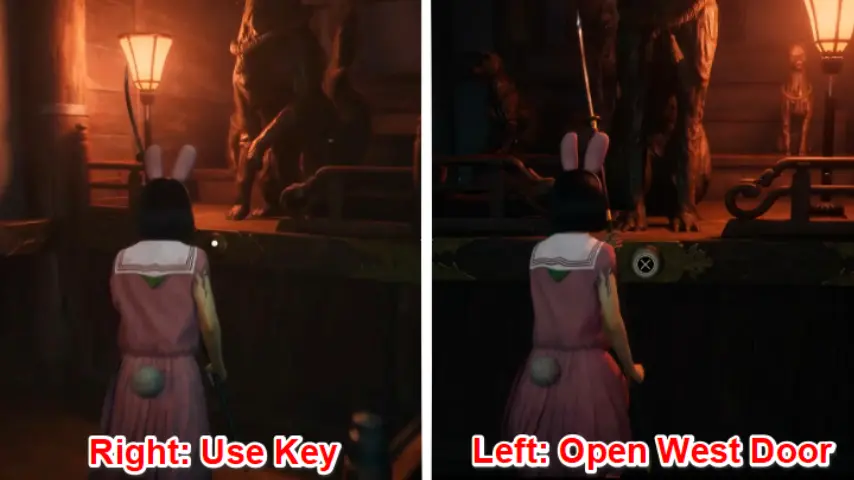
- Use the White Rabbit Emblem Key on the Inari statue to the right of the Sacred Door
- This opens the first door, revealing another locked door behind it
- Interact with the Inari statue on the left side to unlock the western chambers
- Find Rinko trapped in a suspended cage above a pool of lava
Finding the Three Missing Objects in Silent Hill f Worship Hall
In front of Rinko's cage is a cabinet with three circular slots requiring specific crests to progress.
Forward-Facing Fox Crest
Location Steps:
- Pull the lever on the fox statue to the left of the cabinet and turn it green
- This opens the southern corner door - go through it
- Head into the middle room and switch the statue there to white
- Loop around to the far east side to reach the classroom
- Interact with the blue lamp on the teacher's podium to shift the scenery
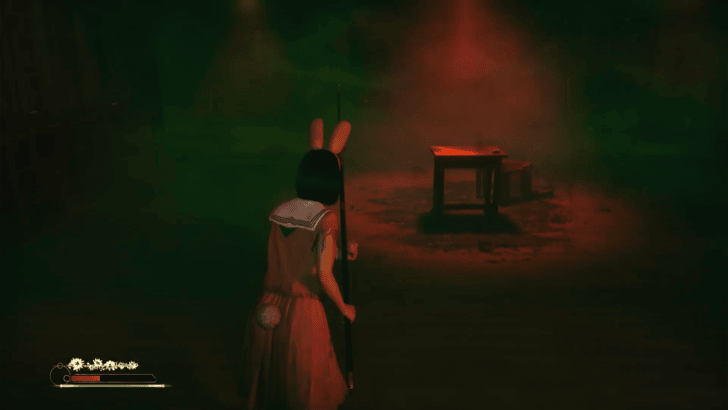
- Check the lone desk in the center to obtain the Forward-Facing Fox Crest
A Blade Legs Monster will appear after obtaining the crest. Defeat or evade it, then exit through the only door to return to Rinko's cell.
Leftward-Facing Fox Crest
Location Steps:
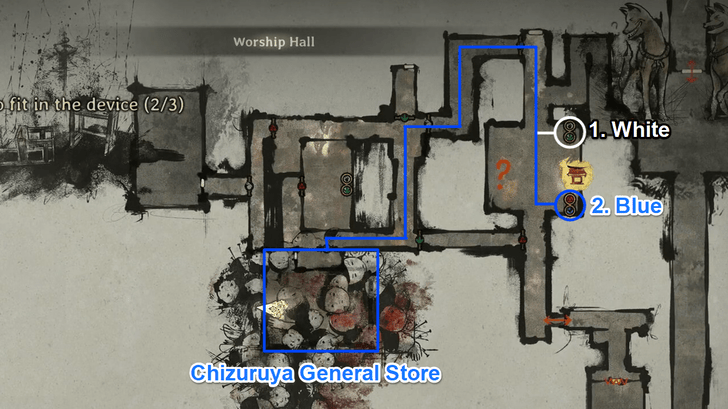
- Switch the fox statue on the left to white
- Switch the fox statue on the right to blue
- This creates a clear path from the northern doorway to the Chizuruya General Store room
- Investigate the blue lamp on top of the cashier desk to change the shop's scenery
- A Shackled Monster will spawn - eliminate it first
- Find the Leftward-Facing Fox Crest behind a pink candy jar on a shelf at the western side of the shop
Rightward-Facing Fox Crest
Location Steps:
- Switch the fox statue on the right to red
- Switch the fox statue's color on the left to green
- Head through the southern passageway and walk through the open gates leading north to find Rinko's room
- Interact with the blue lamp on Rinko's study desk to shift the scenery
- Location varies by difficulty:
- Story: Behind the red doll
- Hard: Behind the blue doll
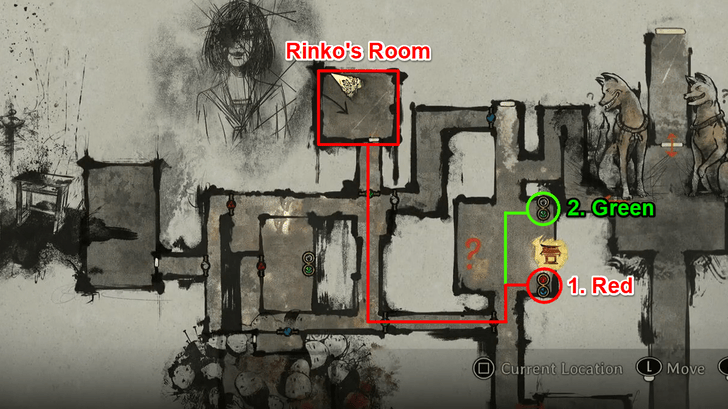
After collecting all three crests, place them on the cabinet to obtain the Tri Scale Emblem Key. Watch the cutscene showing Rinko's demise before leaving the area.
Silent Hill f New Game+ Content: Swallow Omamori Location
During a New Game+ playthrough, additional collectibles become available in the Worship Hall.
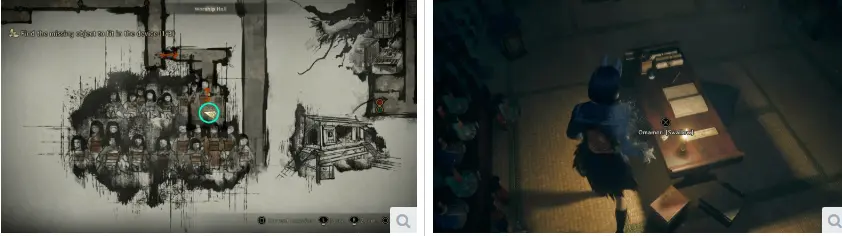
Swallow Omamori Location:
- Found in the Western Chambers during New Game+
- Head south to find an Inari door containing the item
- Also contains an Ema and collectible documents
Silent Hill f Memories Puzzle: Finding Shu's Prized Possessions
Return to the Grand Hall and use the Tri Scale Emblem Key on the Inari Statue at the left to access the inner room with six pedestals.
| Item | Difficulty Requirements | Location |
|---|---|---|
| Brainiac Hero Comic | Story+ | By the railing on the floor above the mini-boss arena |
| Drawing of a Young Shimizu Hinako | Hard+ | Specific location varies by playthrough |
| Raygun | Lost in the Fog | Hidden in eastern chamber areas |
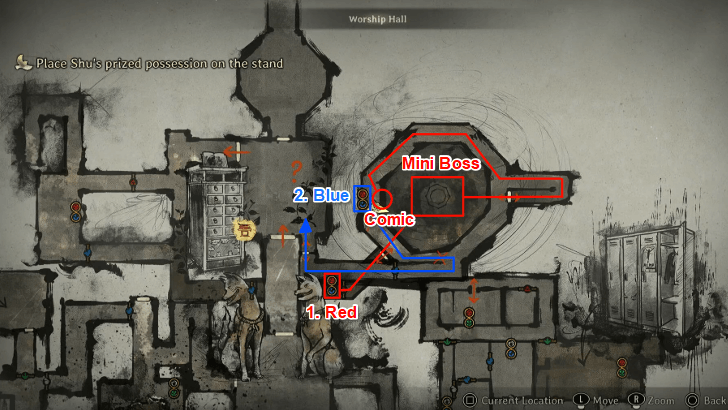
Brainiac Hero Comic Location
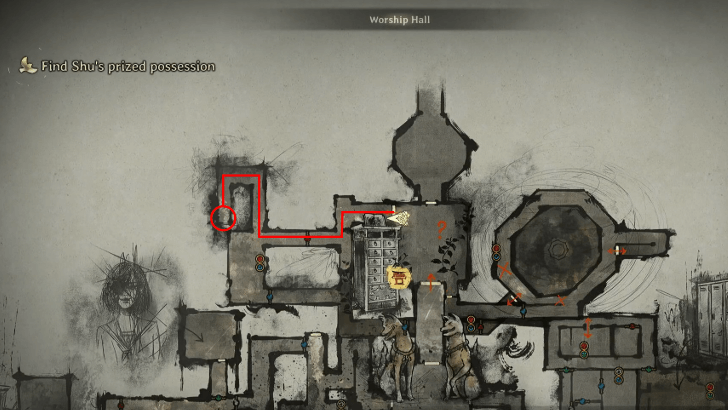
Drawing Location
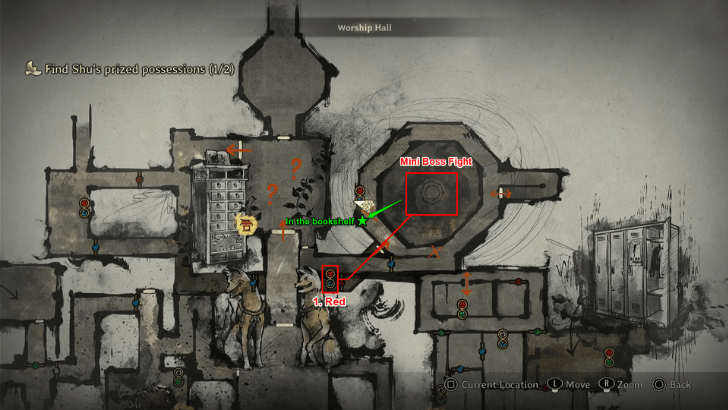
Raygun Location
Once obtained, place the required items on the corresponding empty pedestals to complete the puzzle. This triggers a cutscene that concludes the Worship Hall section and transports Hinako back to Ebisugaoka Middle School.
Defeating the Birthing Monster in Silent Hill f
This formidable mini-boss appears while searching for Shu's prized possessions in the eastern chamber.
Boss Strategy:
- The Birthing Monster spawns additional threats like Blade Legs Monsters
- Destroy cocoons before they hatch to maintain control of the battlefield
- Attacks include ranged spit and powerful melee tackles
- Keep your distance and dodge frequently
- Strike with your Naginata during attack openings
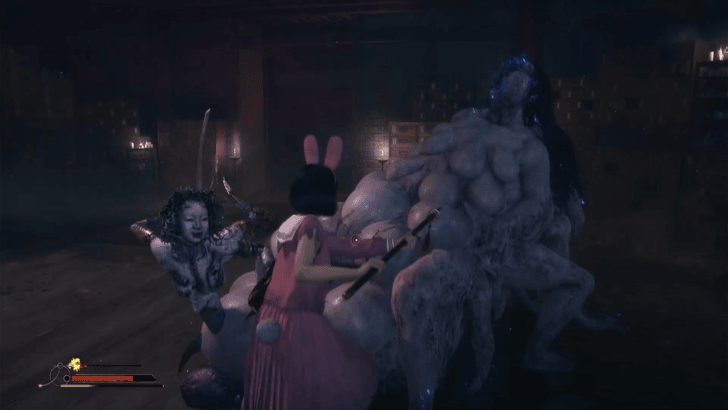
Boss Description
"A monster covered in swollen, skin-crawling mounds. As each one pulses, it spawns more and more horrors. What a vile show of life. I'd rather die than turn into a monster like this."
A grotesque monster that deals both ranged and melee attacks. Keep watch of its movements and proactively destroy every cocoon it births to prevent additional enemies from overwhelming you.
All Worship Hall Puzzles in Silent Hill f
| Puzzle | Description | Reward |
|---|---|---|
| Door Puzzle | Activate switches to open doors leading to Worship Hall East Room | Access to Sakuko |
| Light Puzzle | Change statue directions to adjust hanging cages' heights | Lampshades for White Rabbit Emblem Key |
| Cage Puzzle | Find three objects to fit into device in front of cage | Tri Scale Emblem Key |
| Memories Puzzle | Locate Shu's prized possessions and place on pedestals | Progress to next area |
Silent Hill f Worship Hall Enemies and Encounters
Blade Legs Monster
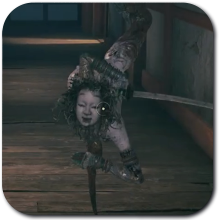
Fast-moving enemy with bladed limbs. Frequently encountered in hallways.
Oi-omoi
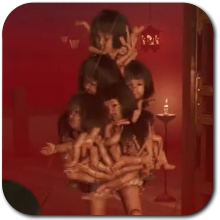
Heavy, slow-moving enemy with powerful attacks.
Shackled Monster
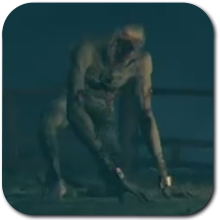
Enemy restrained by chains that can break free during combat.
These enemies will be frequently encountered throughout the winding hallways of the Dark Shrine Worship Hall. Stay vigilant and either defeat them or strategically avoid confrontation.
Silent Hill f Worship Hall Collectibles and Missables
Hidden Omamori Locations
Bull Omamori
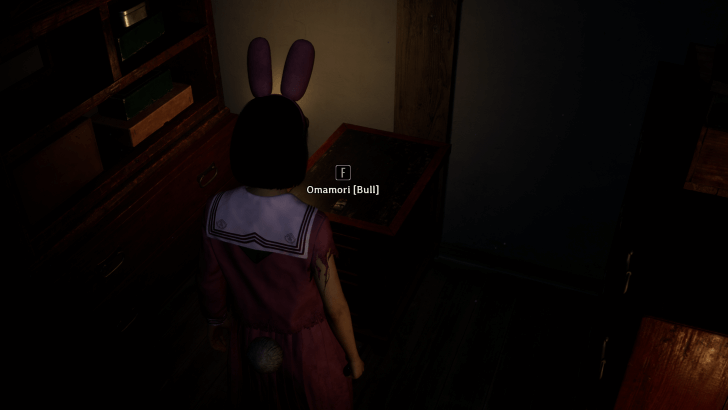
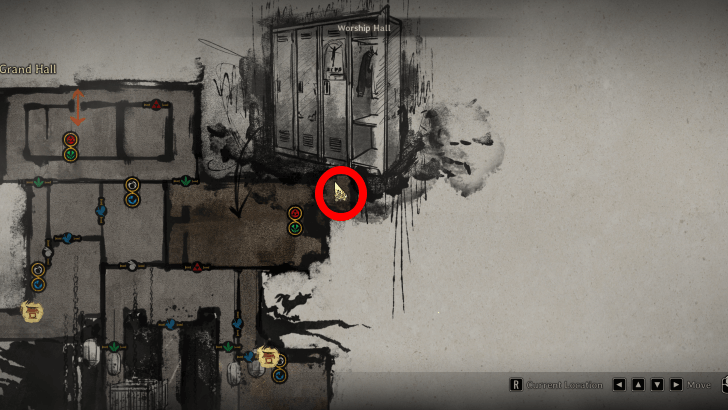
Complete the Light Puzzle tied to Sakuko at the Worship Hall, then return to where the lockers are located.
Swallow Omamori
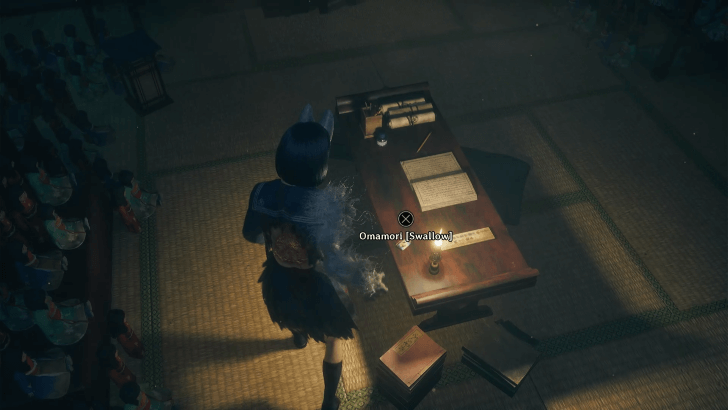
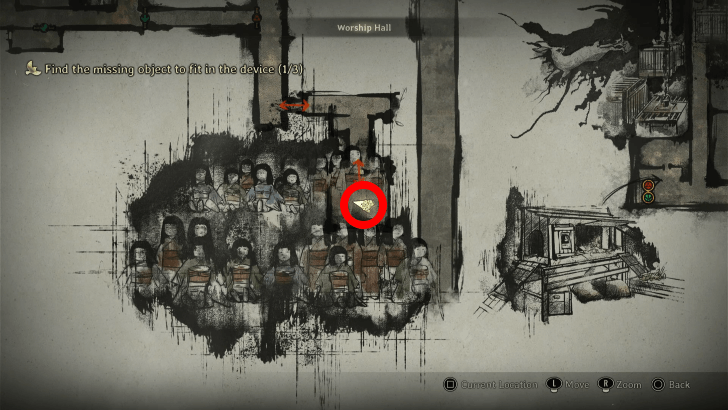
Located in a new area south of Rinko's cage in the Dark Shrine Worship Hall. The room only opens during New Game+.
Ema Locations
First Run Ema
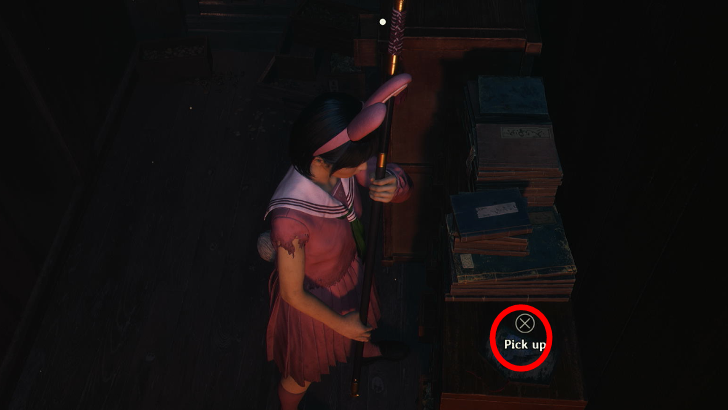
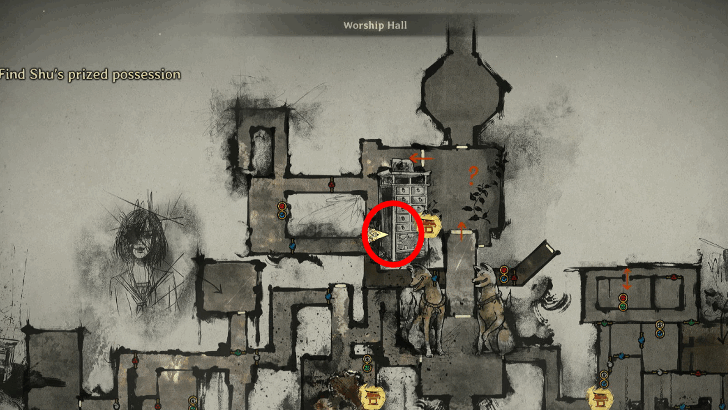
Found on top of books requiring both the White Rabbit Emblem Key and Tri Scale Emblem Key to access the area.
New Game+ Ema
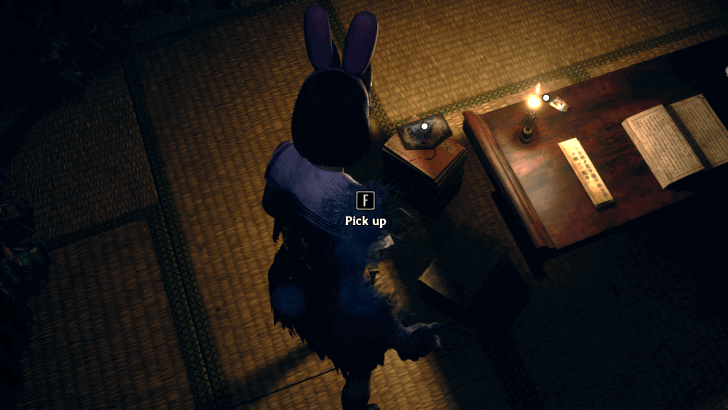
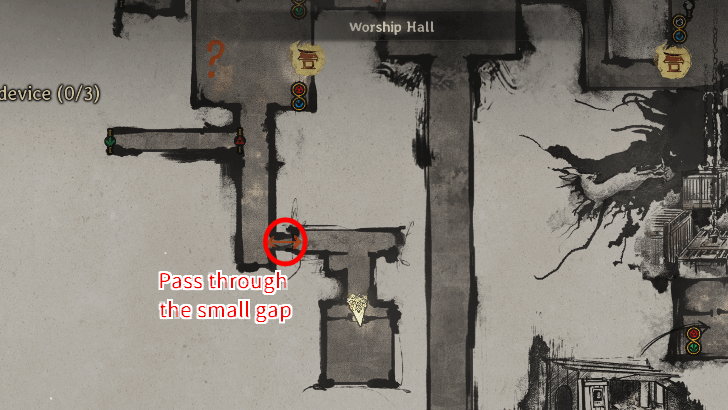
Located inside the Inari-sama Door in the Worship Hall. Head south from the Hokora Shrine and pass through a small gap to reach the sealed door.
Mastering the Silent Hill f Worship Hall
With this comprehensive guide, you're now equipped to navigate every challenge within the Dark Shrine Worship Hall. From intricate puzzles to terrifying enemies, you have the knowledge to progress through this crucial section of Silent Hill f.
Remember to explore thoroughly, manage your resources wisely, and stay alert to the ever-present dangers lurking in the shadows.