
Silent Hill f Sacred Sword Puzzle Guide
Complete New Game+ puzzle walkthrough for obtaining and purifying the legendary blade
Sacred Sword Puzzle Overview
One of the two new puzzles on New Game+ mode is also a crucial component of your game's ending. Here's how to find and, if necessary, purify the Sacred Sword.
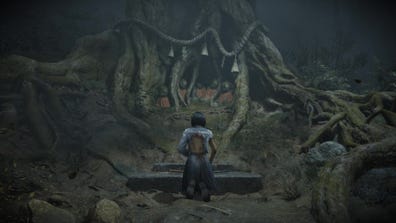
This guide involves a "side quest" that encompasses most of the first two-thirds of the game, and which is only possible in New Game+ mode. Consider that your spoiler warning.
Your first opportunity to learn about the Sacred Sword comes from a document, Regarding the "Legend of the Sacred Sword," that's been left outside of the Divine Tree in western Sugisato, west of Shu's house. According to it, the Sacred Sword is both an archeologically significant, potentially theologically devastating find for the region and a powerful, malevolent magical blade.
Research Journal Photos Collection Guide
You can learn more about the Sacred Sword by collecting Research Journal Photos in New Game+, each of which comes with another chapter of the Regarding the "Legend of the Sacred Sword" document. This lets Hinako follow up on an unnamed researcher's history project by seeking out 5 jizo statues throughout Ebisugaoka.
Research Journal Photo #1 Location
One of the first changes you can find on a fresh New Game+ run is that the house southeast of your starting point, a short walk away from Hinako's home, is now standing open. If you walk inside, you can find an assortment of consumables and a new key item, Research Journal Photo #1, on the living room table.
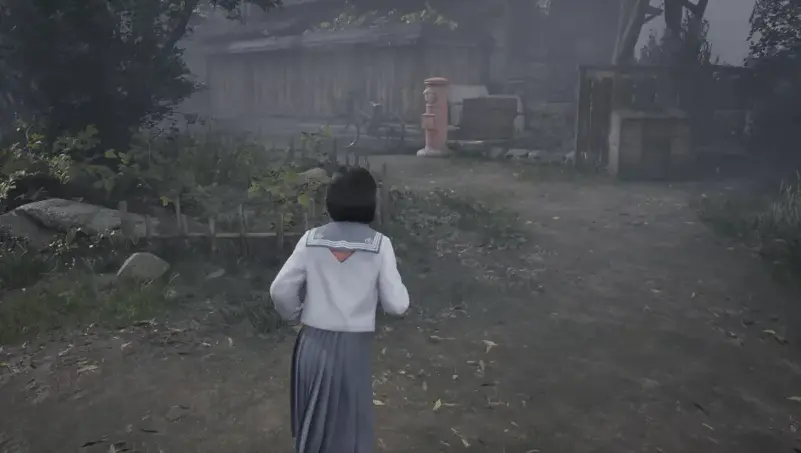
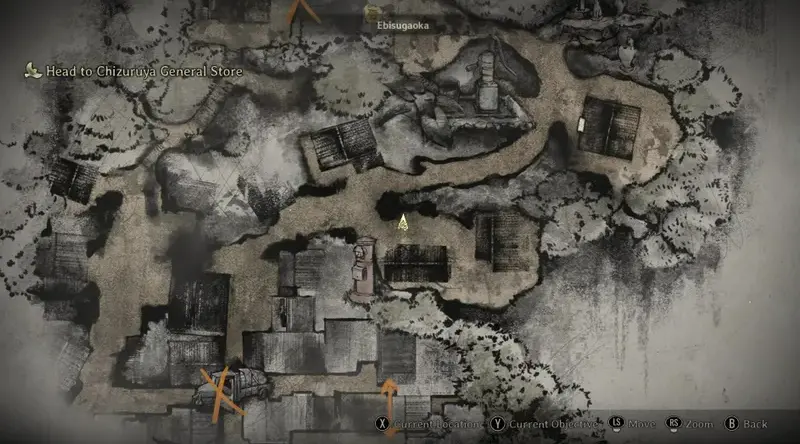
Before you leave, go upstairs and check the open bedroom, where you'll find the Balcony Key. This lets you go out on the house's second-floor balcony and enter the bedroom next door, where you can find the Packing Tips key item, which expands Hinako's inventory, and the Treasure Hunting Game Key.
Important Items:
- Research Journal Photo #1
- Balcony Key
- Packing Tips (inventory expansion)
- Treasure Hunting Game Key
- Faded Bride Doll (offering)
From here, make your way down the mountain and keep your eyes open for the postbox that was visible in Research Journal Photo #1. You'll find it a short distance away to the southwest, right before you get into town, and Hinako will automatically sketch the postbox on your map once she passes it. The jizo is in the small fenced-in garden across from the postbox.
Place the Faded Bride Doll at the jizo's feet to complete this stage of the puzzle. You'll hear a bell tone, and Hinako will note in her journal that she thinks she's accomplished something.
Point of No Return:
The point of no return for this particular stage of the puzzle comes when you reach the general store, but you should be able to pick it back up much later on when you're fighting your way back to the Shimizu Residence.
Research Journal Photo #2 Location
The second photo is also the easiest of the 5 to miss. When you're on your way to Rinko's, Research Journal Photo #2 can be found on the main road through Ebisugaoka, east from the general store.
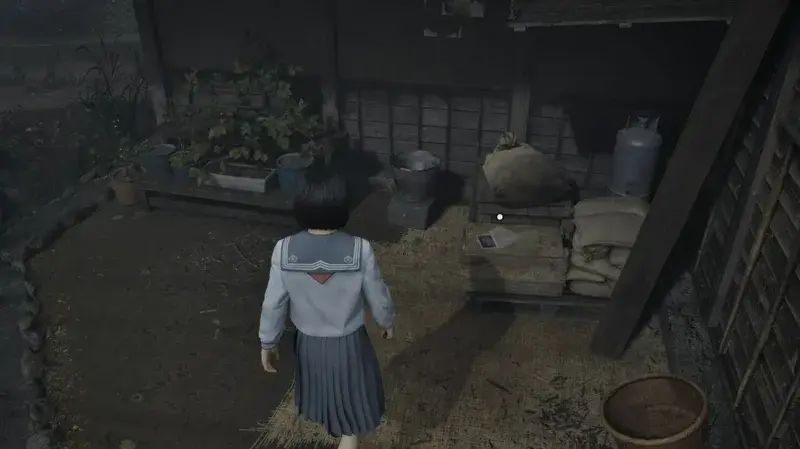
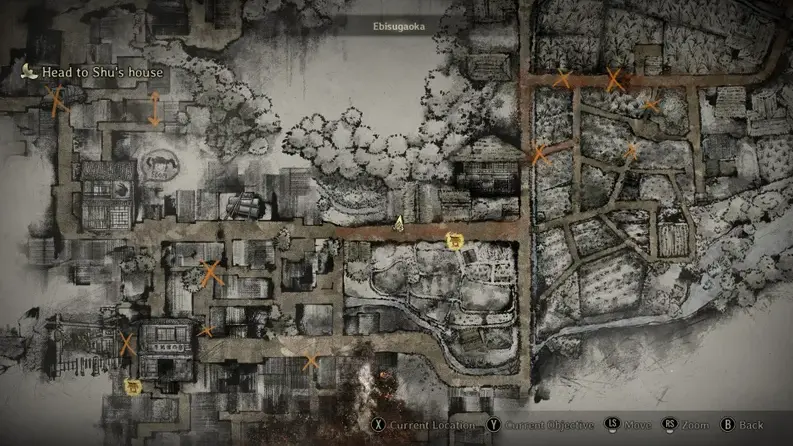
As you reach the point where the road meets the fields, you'll find a Hokora on its south side, while the two houses to its north have a bunch of useful items like a hidden Sickle. The Photo is on the west side of those two houses, and is painfully easy to overlook.
Fortunately, you'll get a couple of different chances to pick Photo #2 up, as this is a high-traffic area. It's only permanently off-limits once you enter the middle school.
Once you've got Photo #2, it turns out you're looking for a construction yard. It too is easy to overlook, as there isn't much else there, but it's along the main road north of the rice fields; you'll meet Shu and Rinko next to the construction yard at one point early in Ebisugaoka 3. Pass through the yard and you'll find its jizo statue in a small clearing towards the back.
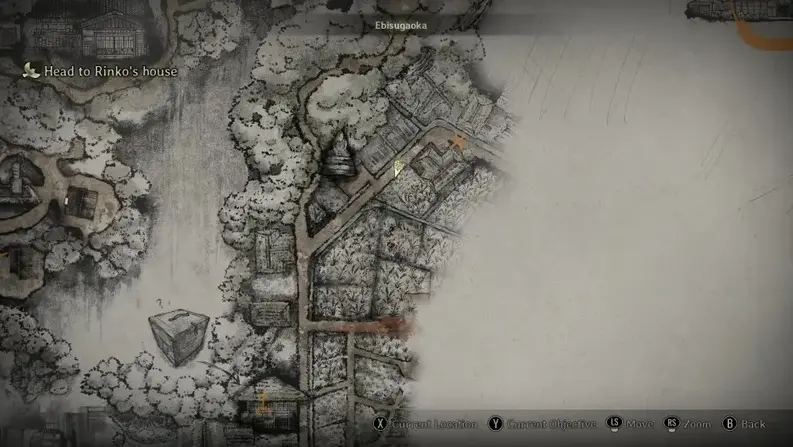
The corresponding offering can be found north of here, at Sakuko's shrine. Head up there to find the Rusted Flask on a stone lantern near the entrance. (If you were here before on your first run, this is the same lantern where you found the Key to Sakuko's Mailbox.) Return to the jizo and offer it the Flask to complete this stage.
Point of No Return:
The point of no return for this stage of the puzzle is when you leave Ebisugaoka for the Middle School. You can visit all the relevant locations either just before or immediately after your trip to Rinko's, but this whole side of the map becomes unavailable thereafter.
Research Journal Photo #3 Location
This photo is easy, especially by comparison to the last one. You should virtually trip over it just before you leave the canals en route to the middle school. It's by the side of the critical path on top of an oil drum.
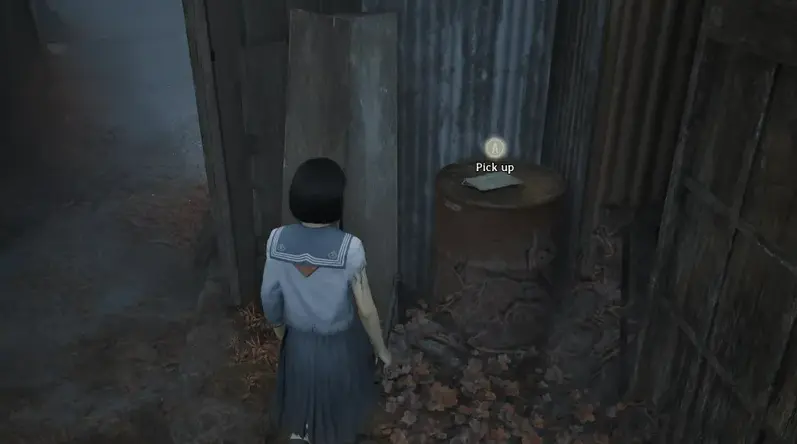
Once you leave town, head uphill until you reach a Hokora by the side of the path. This is a halfway decent landmark for what'd otherwise be a difficult jizo statue to spot. The statue is roughly southeast and uphill from the Hokora, tucked in behind a shack. As with all other weird things in the game, Hinako will mark it with a sketch and a question mark on her map.
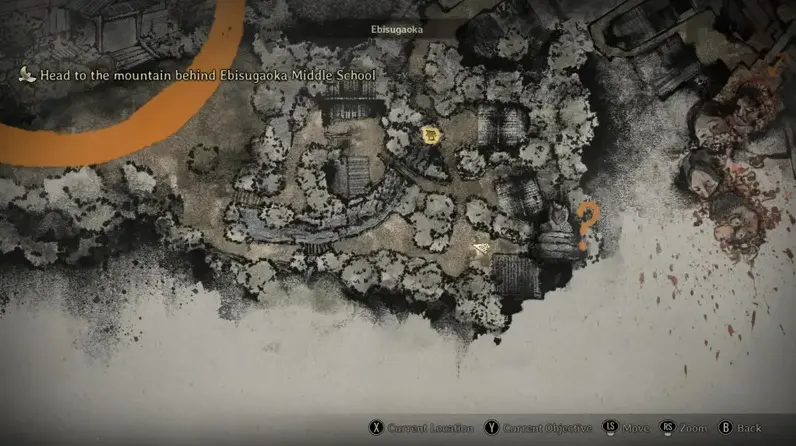
The offering that this jizo wants is a fair distance away. When you reach the yard outside the middle school, do not go inside yet. Instead, circle around to the west and you'll find a wrecked bridge with a couple of big white cloth banners flying above it.
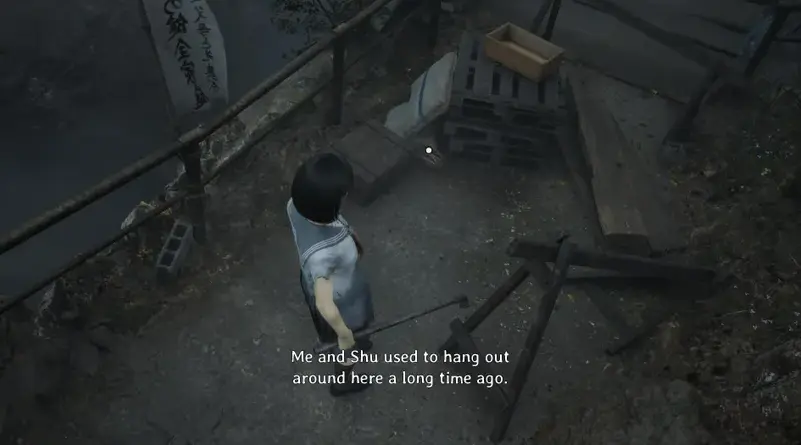
There's a pair of Broken Japanese Geta Sandals in the debris near the gap in the bridge, and the jizo, for reasons, would enjoy them. Return to the statue and give it the Sandals to complete this stage of the puzzle.
Point of No Return:
The point of no return for this stage of the puzzle is when you step through the open gate to Ebisugaoka Middle School. Due to certain valid Fog Monster-related concerns, you will never go back this way for the rest of the game.
Research Journal Photo #4 Location
Once you escape from the Fog Monster in Sugisato, head up the stairs towards the Hokora, then go up the stairs to the west. You'll end up at Sakuko's old shrine, in the shadow of the decaying Divine Tree. Research Photo #4 is found here, tucked into the right side of the big shelf full of stone lanterns.
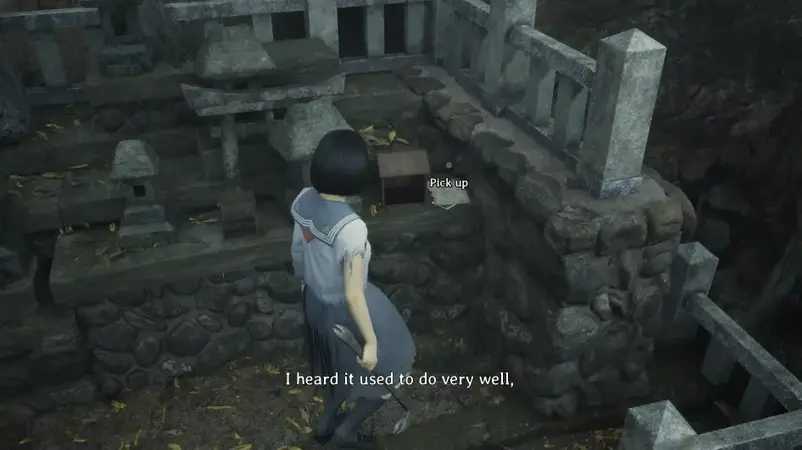
The corresponding jizo statue is relatively easy to find. If you go back to the Hokora, then head northeast towards Shu's house, you'll pass the statue on your right. Keep an eye out for a closed chest-high gate, and you'll find the statue right outside it.
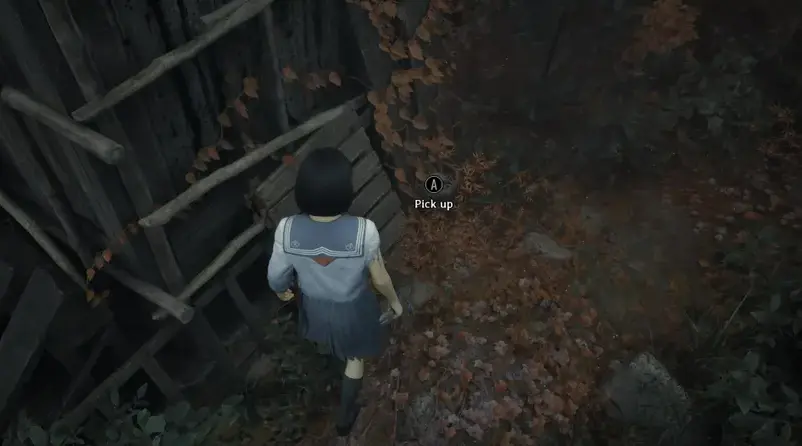
The corresponding offering is in Shu's backyard. Go to his workshop outside his house and pick up the Cracked Hibachi Brazier from the random stuff piled up outside its back wall. Return to the jizo statue and give it the Brazier.
Point of No Return:
The point of no return for this stage of the Sacred Sword puzzle is entering the Shimizu Residence. Up until then, you can backtrack all the way from her neighborhood to the Divine Tree without issue. Once you've cleared the Residence, however, overgrowth blocks the way back through the playground.
Research Journal Photo #5 Location
The final Research Journal Photo is on the path between Shu's house and Ebisugaoka. Watch the houses on your right, and you should spot the Photo on a bench outside of the first one you pass.
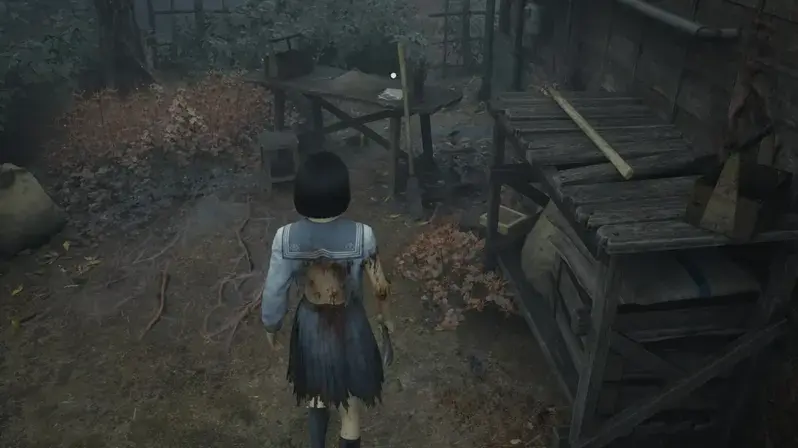
The jizo statue can be found up a set of old stone stairs behind the biggest house in this part of the mountains. You're looking for the shack that actually has a second story, as well as an incredibly bright working streetlight just outside of it.
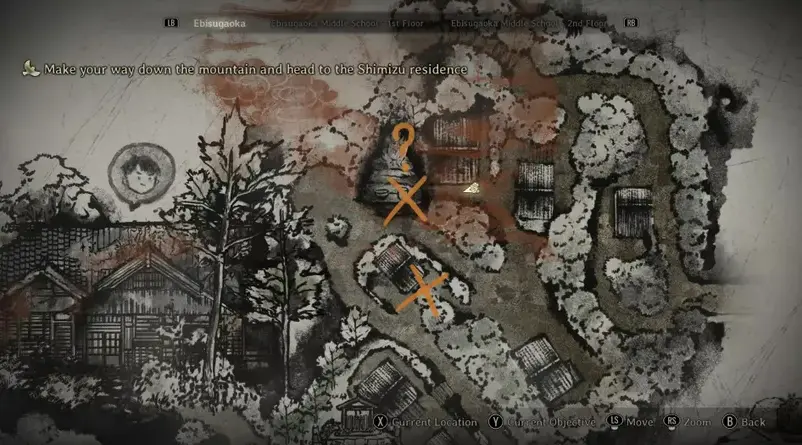
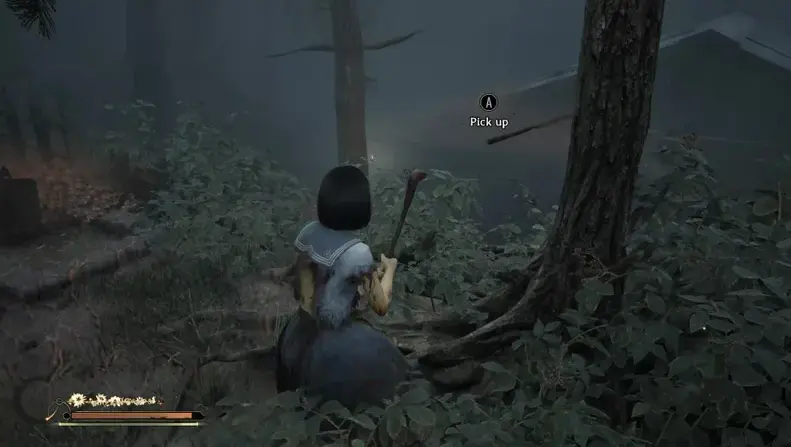
Once you've found the statue, go directly east and circle around the house you find there. Dad's Old Kitchen Knife is sticking out of a tree in its back yard, at the edge of a cliff. Retrieve it and offer it to the statue.
Point of No Return:
As previously noted with the fourth photo/statue, the point of no return for the final stage of the Sacred Sword puzzle is uncommonly generous. You can finish this right up until the moment you enter the Shimizu Residence, as nothing will slam shut or fall to ruin behind you until then.
Obtaining the Sacred Sword
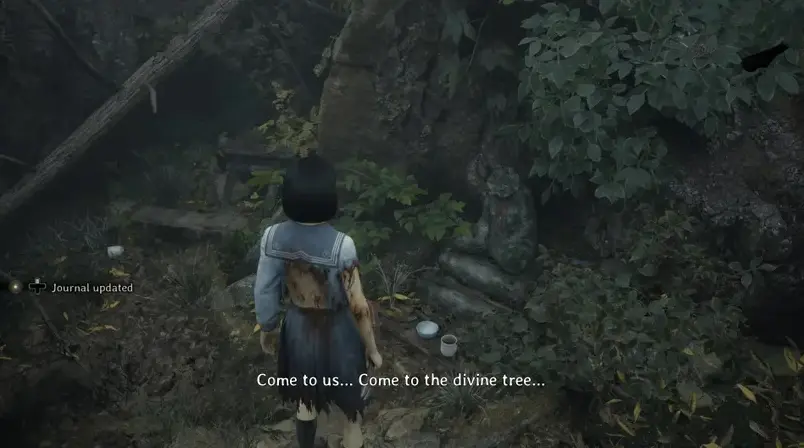
Once you complete the last stage of the Sacred Sword puzzle, whether it's the fourth or fifth statue, Hinako will say aloud "come to the Divine Tree," although she'll be less clear as to why.
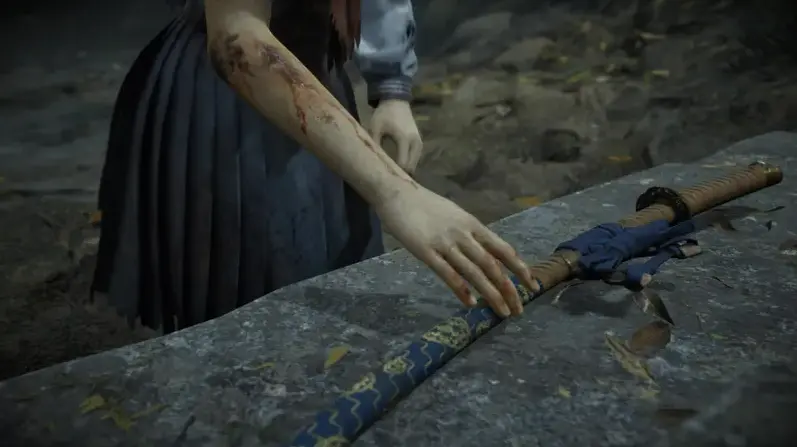
This is your cue to take a long trip back to the Tree, although it will not be a boring trip. If you haven't been to the Tree yet, it's behind the old shrine where you found Research Journal Photo #4. You'll trigger a cutscene where Hinako finds a mysterious sheathed sword has appeared at the base of the Tree.
Achievement Unlocked
The Malevolent Blade Never Rusts
Obtain the Sacred Sword
Sacred Sword Features and Combat
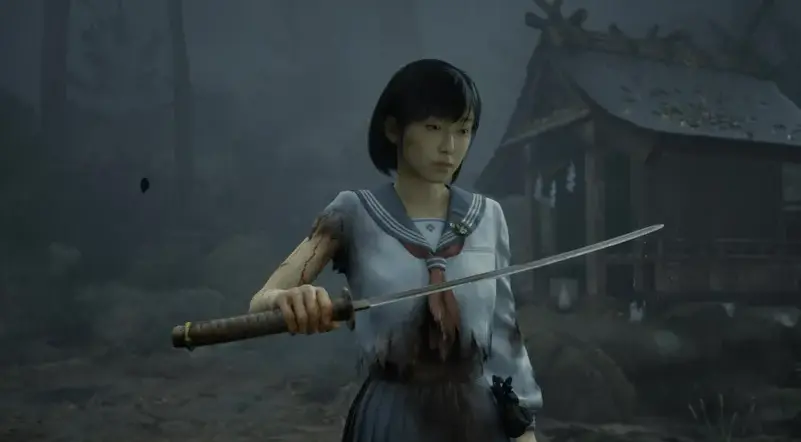
Fun Sword Facts
Combat Properties
- The Sacred Sword is a light weapon with its own swing animations
- It does significant damage per strike
- Cannot perform Focus Attacks
- Heavy Attack is a powerful double-handed lunging stab
- Tremendous horizontal range on attacks
Durability & Repair
- Self-repairs while sheathed
- Regains durability when attacking enemies with other weapons
- Repair effect stacks with [Otter] Omamori
- Can also be repaired with Toolkits
- Cannot break completely
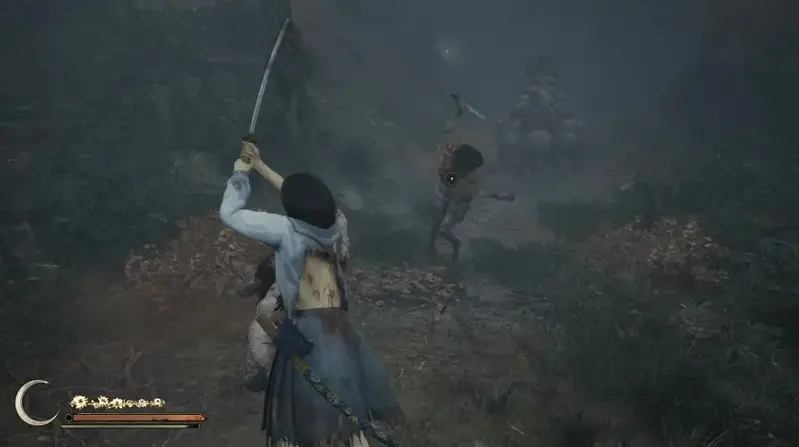
Special Ability:
The Sacred Sword, while cursed, can permanently kill enemies that otherwise wouldn't stay dead. This is particularly useful against the Ara-abare giant outside the storehouse, allowing you to eliminate it permanently rather than working around its respawn timer.
Purifying the Sacred Sword
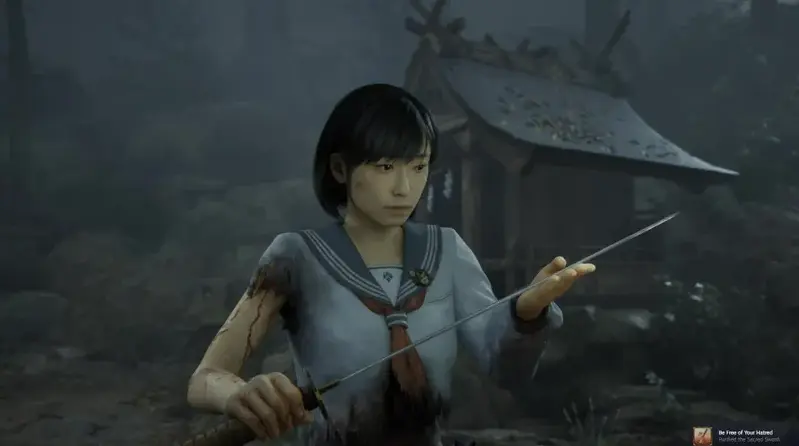
If you complete the optional Crimson Water puzzle in the Main Hall, you unlock the option to purify the Sacred Sword. This is necessary to obtain Endings #2 and #4, although it's also a significant nerf to the Sword.
To purify the Sword, take it to the burned-out shrine on the north side of Sugisato and dunk it in the stone basin of water.
Achievement Unlocked
Be Free of Your Hatred
Purify the Sacred Sword
Purified Sword Changes
Before Purification
- Self-repair capability
- Permanent enemy kills
- Higher base damage
- Cursed properties
- Required for certain endings
After Purification
- No self-repair
- Must use Toolkits for repair
- Still most damaging light weapon
- Purified properties
- Required for different endings
Once purified, the Sword is essentially just another light weapon and uses the same attack animations. It's still the most damaging light weapon you can get, but it can no longer self-repair and must be kept in working order with Toolkits. However, it still gets its own 4th weapon slot and can't break.
New Game+ and Future Playthroughs
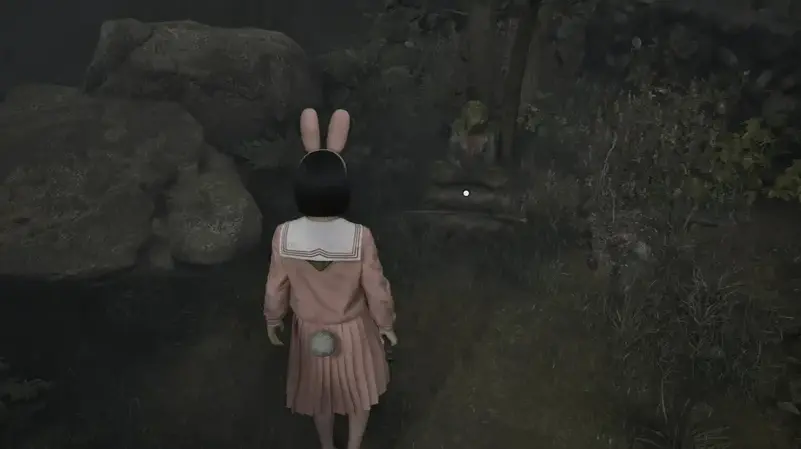
Each step in the Sacred Sword "quest line" is a one-way trip. Each jizo that you honor with an offering stays honored for every subsequent trip you make through the game on that save file. If you go back on future runs and check in on the jizo statues that you've honored, they will simply be non-interactive.
The Sacred Sword itself isn't initially available on a new run, but can be found in eastern Ebisugaoka at the base of the second jizo statue; you can pick it up in time to have it for the Field puzzle. It will be in perfect condition and, if you purified it last time around, will once again be cursed. It's not a win button, but it's a big quality-of-life bonus for your third and future playthroughs.
Pro Tip:
The Sacred Sword puzzle works the same on every difficulty setting. With the exception of the first installment of the "Sacred Sword" document, no part of this puzzle appears at all unless you're on New Game+.
Master the Sacred Sword
With this comprehensive guide, you're now equipped to find, obtain, and potentially purify the legendary Sacred Sword in Silent Hill f. Whether you seek its cursed power or wish to free it from its malevolence, this powerful weapon will significantly impact your journey through Ebisugaoka.