
Silent Hill f Light Puzzle Guide
Master the darkness and solve the mirror reflection challenge
Understanding the Silent Hill f Light Puzzle Mechanics
The Light puzzle in Silent Hill f is, well... surprisingly dark, considering its name. This challenging puzzle appears at the climax of the White Rabbit section within the Worship Hall, also known as Sakuko's wing. Here's how to solve this intricate puzzle and progress through this haunting chapter of the game.
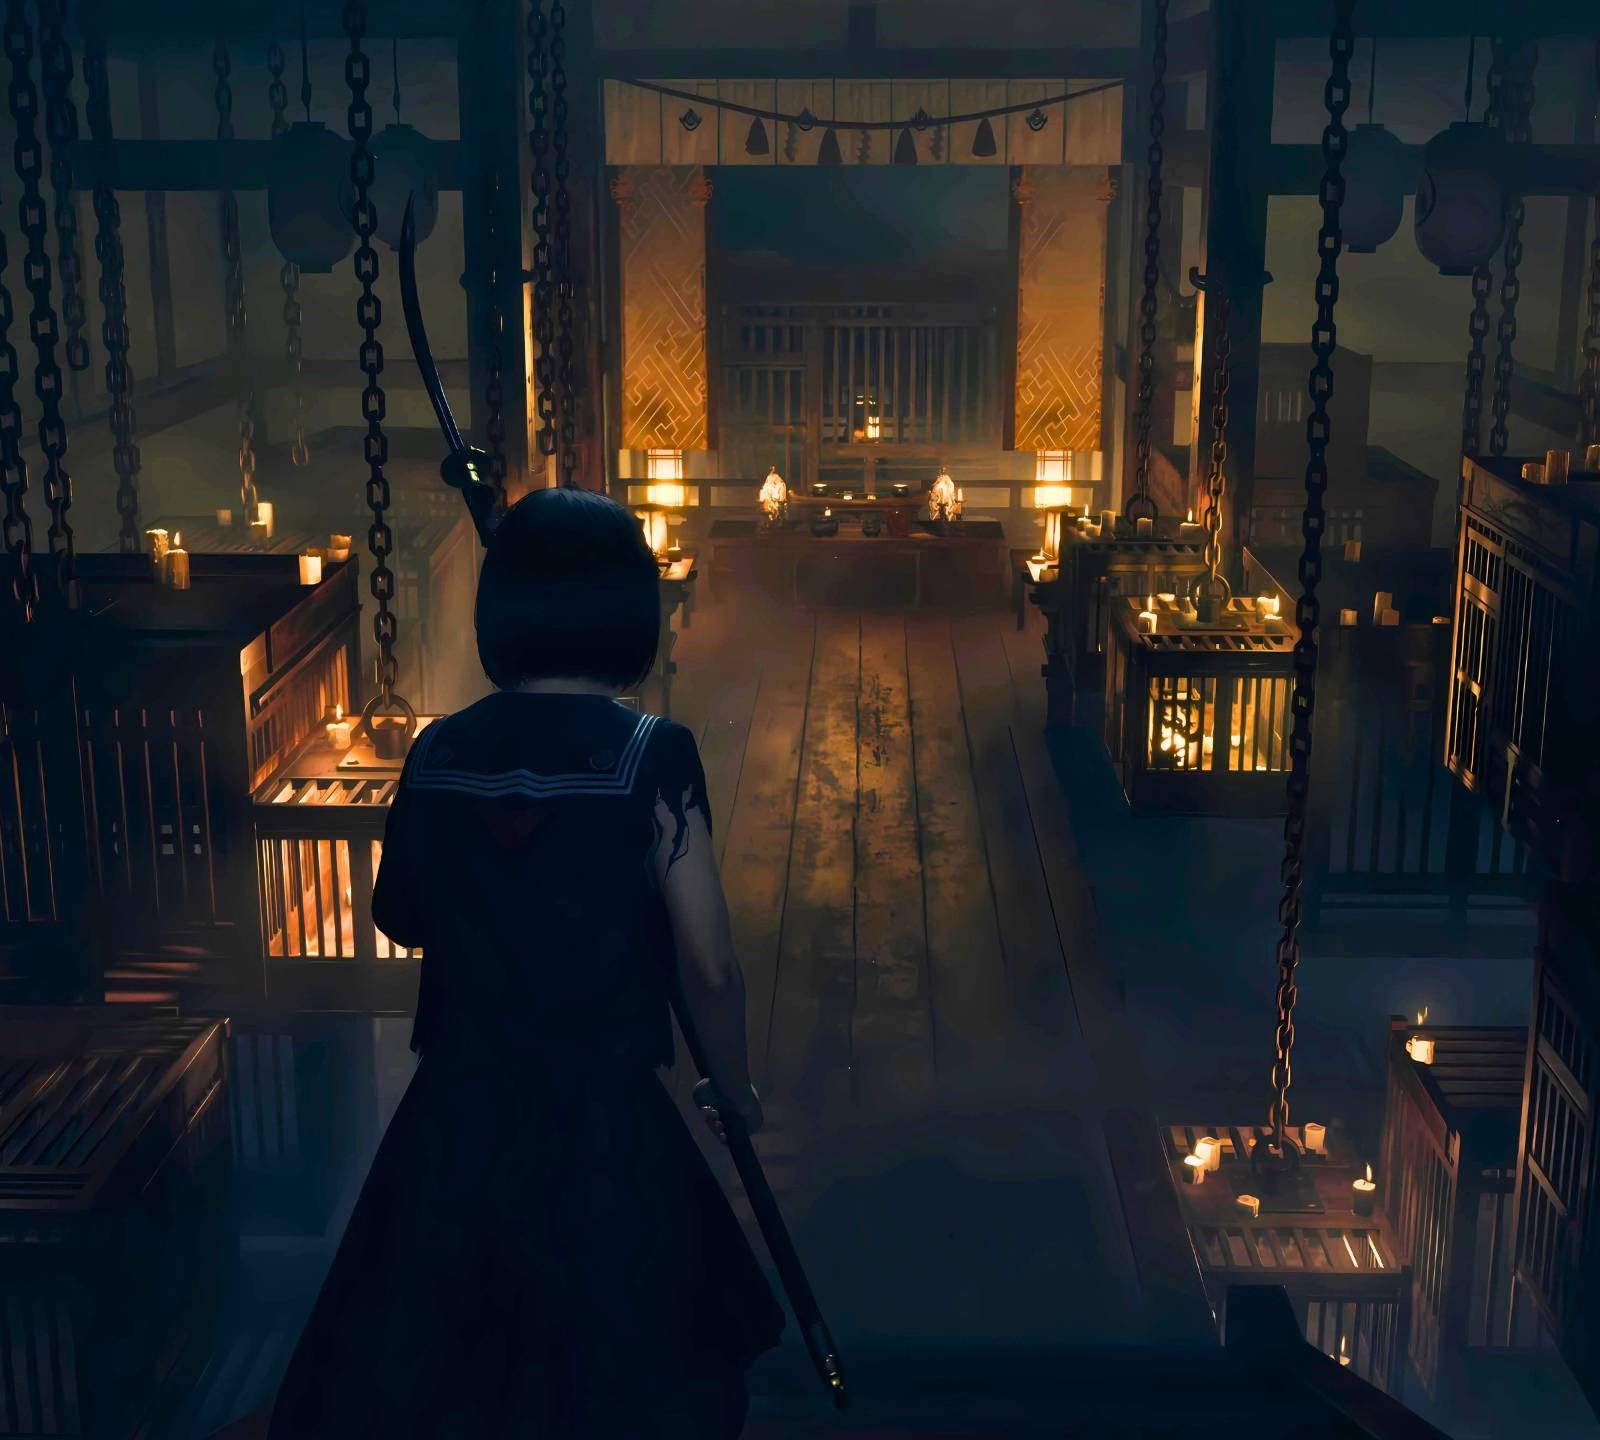
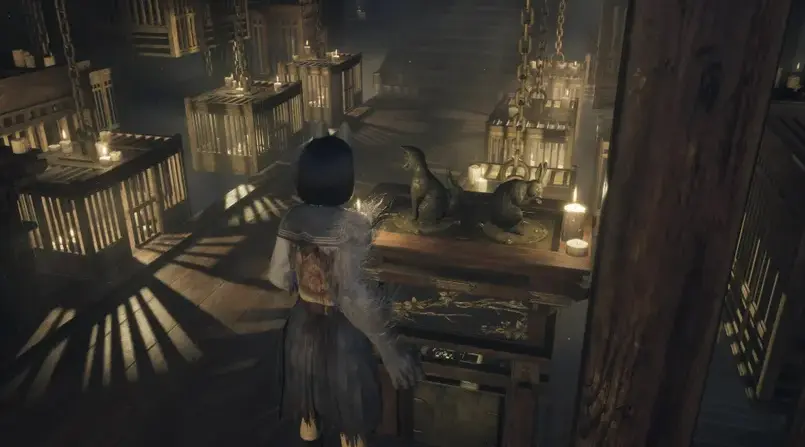
The Light Puzzle room in Silent Hill f's Worship Hall
When you reach this critical point in Sakuko's wing, you'll find yourself in the same room as Sakuko herself, facing a puzzle that requires careful observation and interpretation of the clues provided.
Decoding the Sheet of Fine Paper Clue
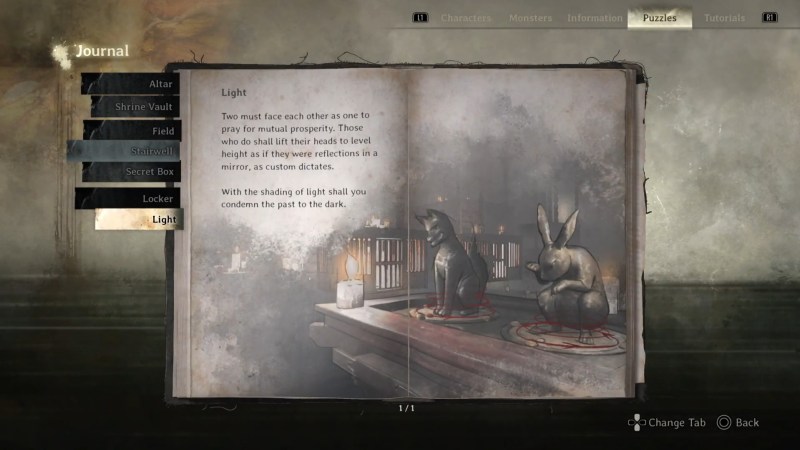
"Two must face each other as one to pray for mutual prosperity. Those who do shall lift their heads to level height as if they were reflections in a mirror, as custom dictates. With the shading of light shall you condemn the past to the dark."
- Sheet of Fine Paper document found on the nearby altar
While previous puzzle solutions in Silent Hill f might have primed you to interpret such lines with an eye towards metaphor or loaded language, the Light puzzle is surprisingly straightforward. The document provides literal instructions for solving this challenge, with only a comparative handful of possible solutions. Many players actually solve this puzzle by accident while experimenting with the statue mechanics.
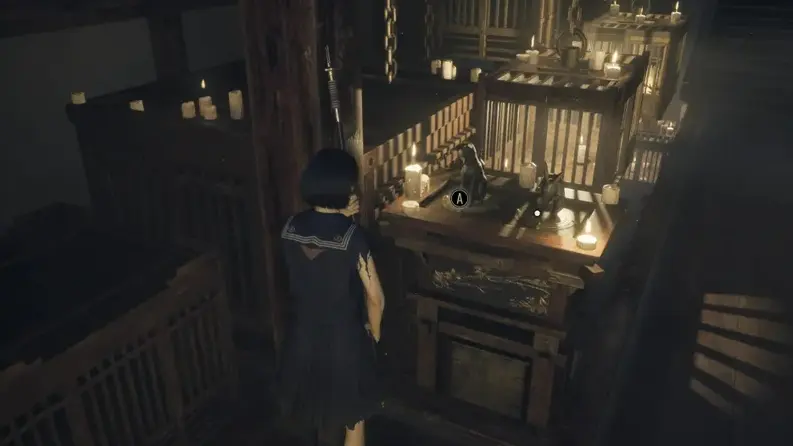
The fox and rabbit statues that control the cage mechanisms
Silent Hill f Light Puzzle Statue Mechanics Explained
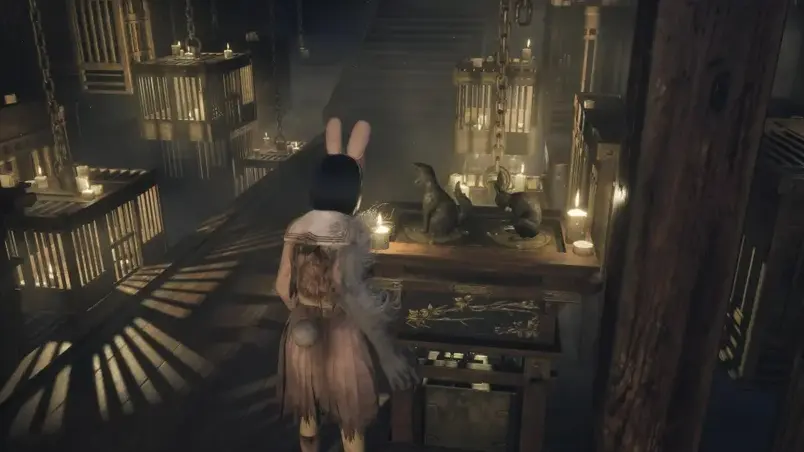
The puzzle room contains four small statues positioned on either side of the room near the altar, with two statues on each side. The statues depict foxes and rabbits, and each can be rotated to face left, right, or forward. These rotations directly control the raising and lowering of cages behind them.
Statue Types
- Fox Statues - Represent cunning and wisdom
- Rabbit Statues - Symbolize intuition and vulnerability
- Each has three positions: Left, Right, and Forward
Cage Mechanics
- Statue positions control cage height
- Cages contain essential Nightshades
- Proper alignment opens access to items
Two of these cages contain the crucial Restraint and Talon Nightshades, which you need to unlock the gadget preventing you from taking the key. Your objective is to arrange the statues so the cages face each other properly at the correct height, which will grant you access to the Nightshades.
Silent Hill f Light Puzzle Complete Walkthrough
You'll know you've successfully solved the puzzle when you can no longer interact with the fox and rabbit statues. This is your signal to collect the Nightshades from the now-open cages, retrieve the White Rabbit Emblem Key, and continue your journey through the haunting world of Silent Hill f.
Using the Nightshades
Once you obtain the Restraint and Talon Nightshades from the cages, use them on the lanterns positioned to either side of the altar. This action will reward you with the White Rabbit Emblem Key, allowing you to progress further into the game's narrative.
The White Rabbit Emblem Key - Your reward for solving the puzzle
Silent Hill f Light Puzzle Solutions for All Difficulty Levels
Story Mode Solution
For Story Mode, you can take the Sheet of Fine Paper document at face value. The solution is literally exactly what the clue describes, making this the most straightforward version of the puzzle.
The solution is to arrange the statues so they mirror each other perfectly, facing one another directly.
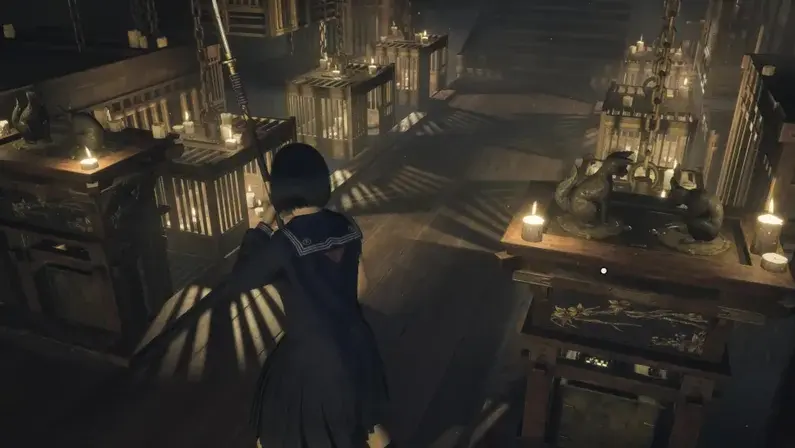
Story Mode statue configuration - perfect mirror alignment
Hard Mode Solution
In Hard Mode, the "two facing each other as one" concept still applies, but the arrangement changes. Instead of adjacent statues mirroring each other, the reflection occurs across the room.
The solution requires statues on opposite sides of the room to face each other directly across the aisle.
Hard Mode configuration - cross-room reflection pattern
Lost in the Fog Mode Solution
The Lost in the Fog difficulty breaks from the established patterns of the other modes. While the puzzle hint isn't technically lying, it does require a completely different approach, and the final statue arrangement won't be symmetrical like in the other difficulties.
If you're facing the door to the room with your back to the altar, the statues on your left should face forward while those on the right face away from each other.
Lost in the Fog configuration - asymmetrical arrangement
Advanced Silent Hill f Light Puzzle Strategies
Experimental Approach
Since each statue triggers consistent movement in the cages and only has 3 possible positions, systematic experimentation will eventually lead to the solution. Methodically try different combinations while observing cage height changes.
Visual Clues
Pay close attention to the cage heights as you rotate statues. The "level height" mentioned in the clue refers to the cages being at the same elevation when properly aligned.
Puzzle Reset
If you become stuck, most versions of Silent Hill f allow you to reset puzzle elements by leaving and re-entering the room, giving you a fresh start without losing progress.
Lore Connections
The fox and rabbit symbolism connects to deeper themes in Silent Hill f's narrative, with the fox representing deception and the rabbit representing pursuit or vulnerability in the game's mythology.
Silent Hill f Light Puzzle Video Demonstration
For visual learners, this video guide demonstrates the complete solution process for the Light Puzzle across all difficulty settings, showing exact statue rotations and the resulting cage movements.
Video demonstration of Silent Hill f Light Puzzle solutions
Mastering the Silent Hill f Light Puzzle
With this comprehensive guide, you're now equipped to solve the Light Puzzle in Silent Hill f regardless of difficulty setting. Remember that patience and observation are key - the game often provides the answers you need if you're willing to look closely at the clues presented.
"In the reflected light of understanding, even the darkest puzzles reveal their secrets."