
Silent Hill f Ominous Photo Puzzle Guide
Unravel the mysteries of the Shimizu Residence and solve the eerie photo puzzle that changes with your fate
Solving the Ominous Photo Puzzle in Silent Hill f
The first puzzle you're likely to stumble across in the Shimizu Residence is straightforward, but deeply unsettling. This comprehensive guide will walk you through everything you need to know to solve the Ominous Photo puzzle and claim your reward.

Finding the Ominous Photo Puzzle Location
You'll encounter the Ominous Photo puzzle within the first few minutes of exploring the Shimizu Residence. Here's exactly where to find it:
- Located on the first version of the Shimizu Residence map
- Positioned north of the dining room area
- The room contains various personal photographs of Hinako and her family
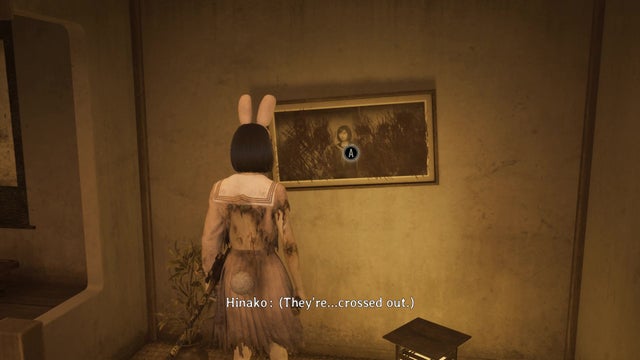
This unsettling room is devoted to an assortment of recent photos of Hinako, her friends, and her parents. You'll immediately notice that something is wrong - the photo of Hinako herself has been mysteriously moved and the group photo has been defaced in significant ways.
Interactive Elements
You can interact with the photos by turning each individual photo upside down. This limited interactivity is crucial to solving the puzzle.
Locating Hinako's Picture Frame
The first critical step is always to find the photo of Hinako, which remains in the same location regardless of puzzle difficulty.
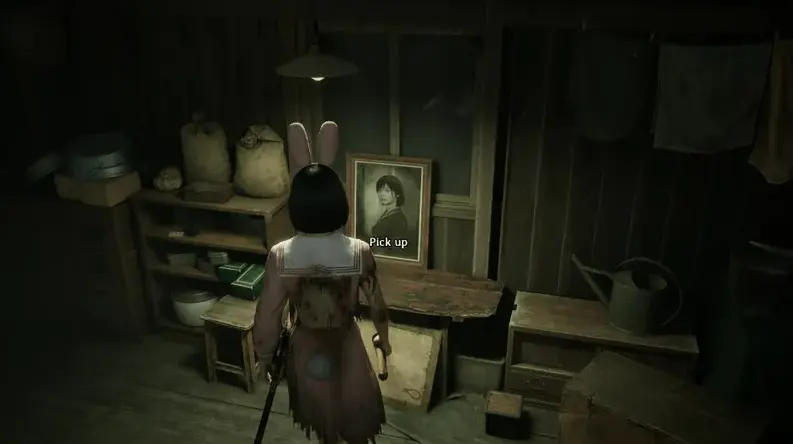
Step-by-Step Guide to the Picture Frame
- Advance to the Shimizu Residence II map
- Navigate to the storage room in the southeast area
- Find the room at the end of the hallway that starts at the Hokora
- Retrieve the Picture Frame from this location
⚠️ Navigation Warning
Getting to the Picture Frame can be challenging due to the local monster population. Exercise caution and be prepared for encounters.
Once you've secured the Picture Frame, retrace your steps through Residence II to III to I. You're now prepared to solve the puzzle.
Ominous Photo Puzzle Solution Guide
While this appears to be one of the simpler puzzles in Silent Hill f, its deceptive nature often leads players to overthink the solution.
Dynamic Puzzle Mechanics
This is the first of four puzzles where the solution dynamically changes based on your current ending route. While the core rules remain consistent, the specific solution varies.
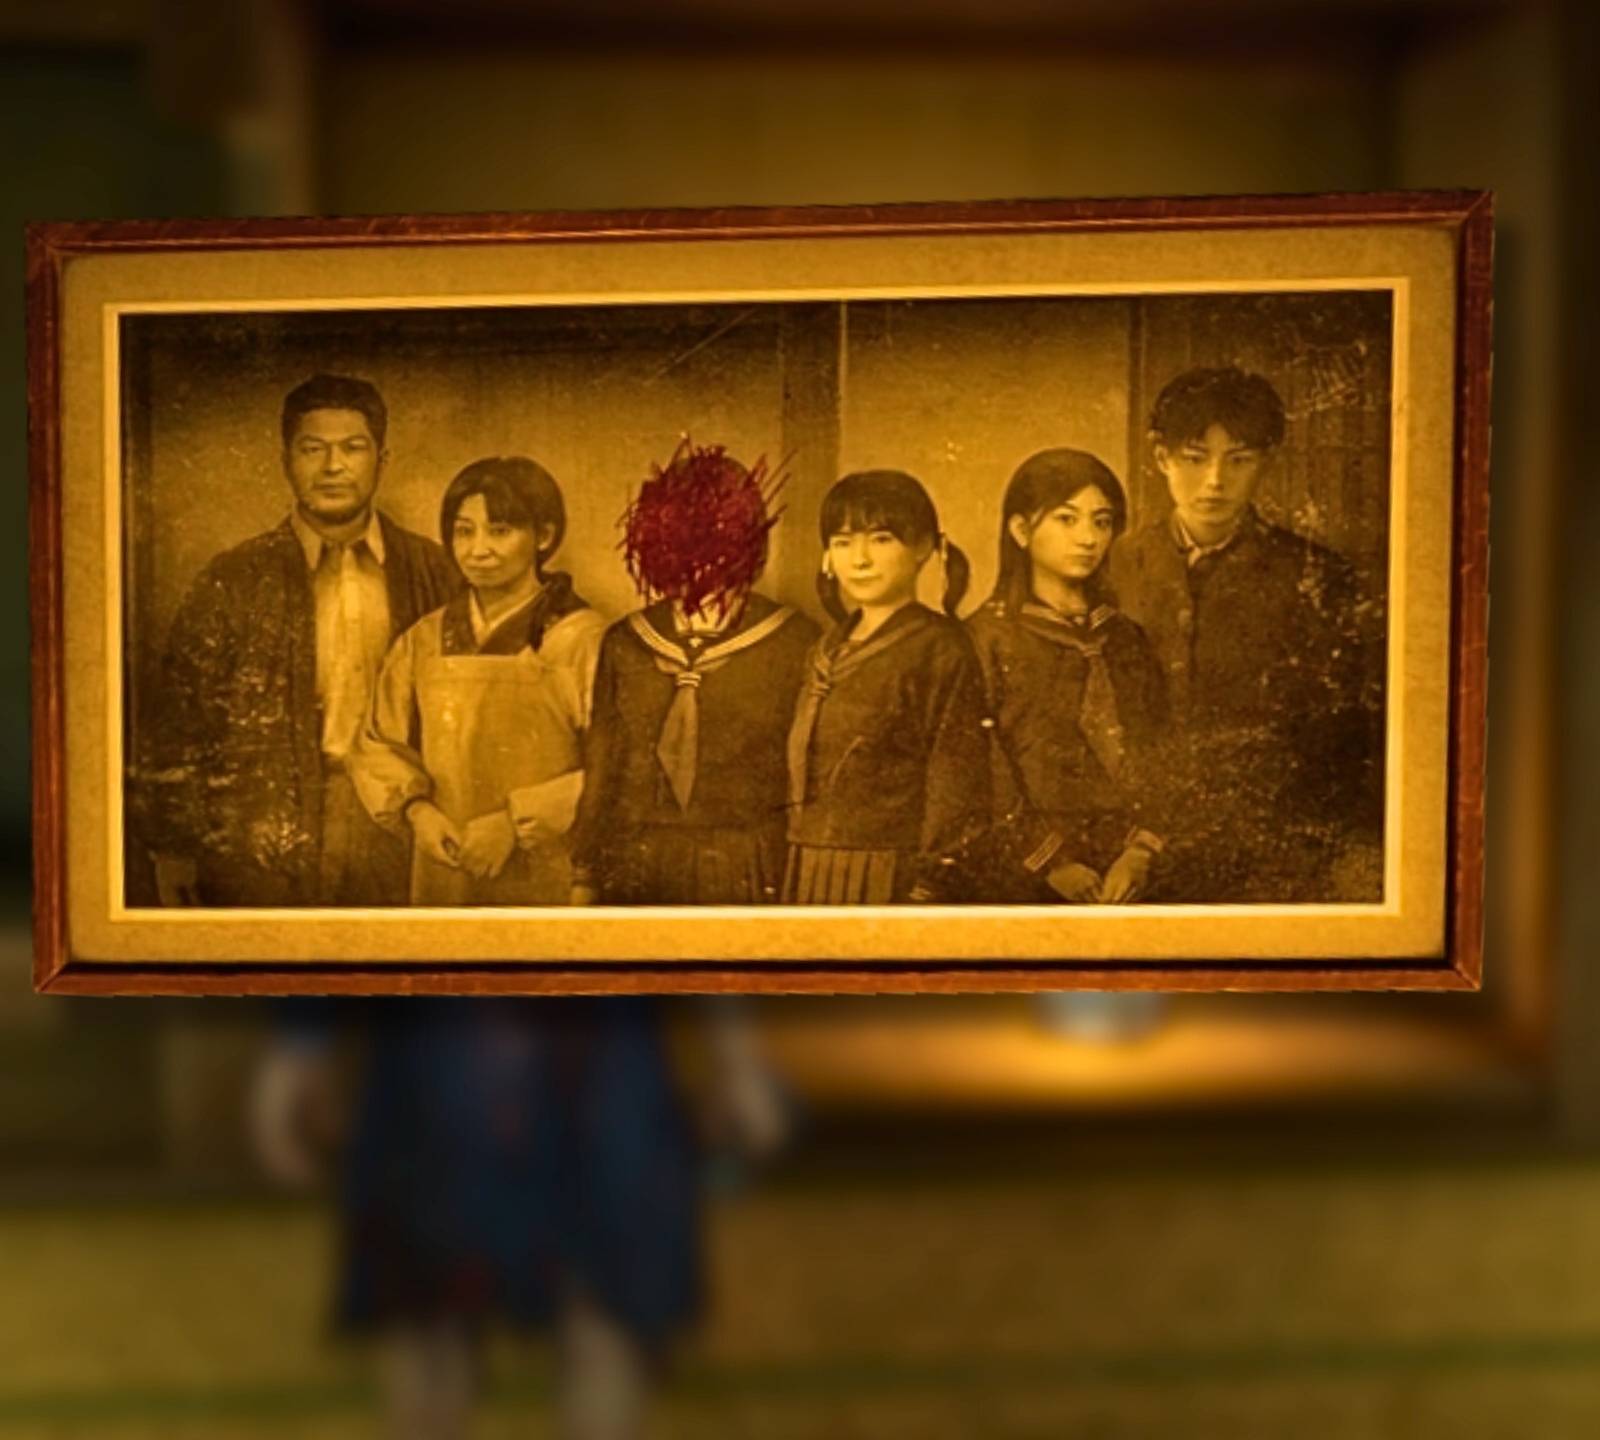
Difficulty Variations
Depending on your difficulty/route combination, the Ominous Photos will be defaced in different ways. The number of crossed-out individuals can range from 1 to 5 people.
Consistent Solution Method
Regardless of variations, the solution remains the same: flip over every photo of someone who's been crossed off the group photo.
Step-by-Step Solution
- Examine the defaced group photo carefully
- Identify all individuals who have been crossed out
- Locate the individual photos of these crossed-out people
- Turn each of these photos upside down
- Once all correct photos are flipped, the Ominous Photo will fall from the wall
Ominous Photo Puzzle Rewards and Importance
Claiming Your Prize
Upon successfully solving the puzzle, the Ominous Photo falls off the wall to reveal the White Bird and Fox Plate - a crucial item for your progression.
🎯 Essential Item Alert
Be absolutely sure to take the White Bird and Fox Plate. This item is mandatory for solving the My Room puzzle later in the game.
Video Demonstration
Advanced Silent Hill f Ominous Photo Strategies
Pro Tips
- Take screenshots of the defaced group photo for reference
- Systematically check each photo to avoid missing any
- The puzzle resets if you leave the area - complete it in one session
- Pay attention to subtle crossing-out marks that might be easy to miss
Common Mistakes
- Flipping photos of people not crossed out
- Missing subtly defaced photographs
- Forgetting to retrieve the White Bird and Fox Plate
- Attempting the puzzle without the Picture Frame first